Setup Service Principal
For user management and secure access, EntiHub uses a Microsoft Entra service principal for authorization and authentication in both the interactive application and exposed APIs.
What you need
For authentication setup, you need the following: - Microsoft Entra tenant with permission to register applications - EntiHub deployment URL (URL or IP address where the application will run; this can also be configured later after installation)
1. Register & setup application in Entra ID
To make authentication work, first register an application.


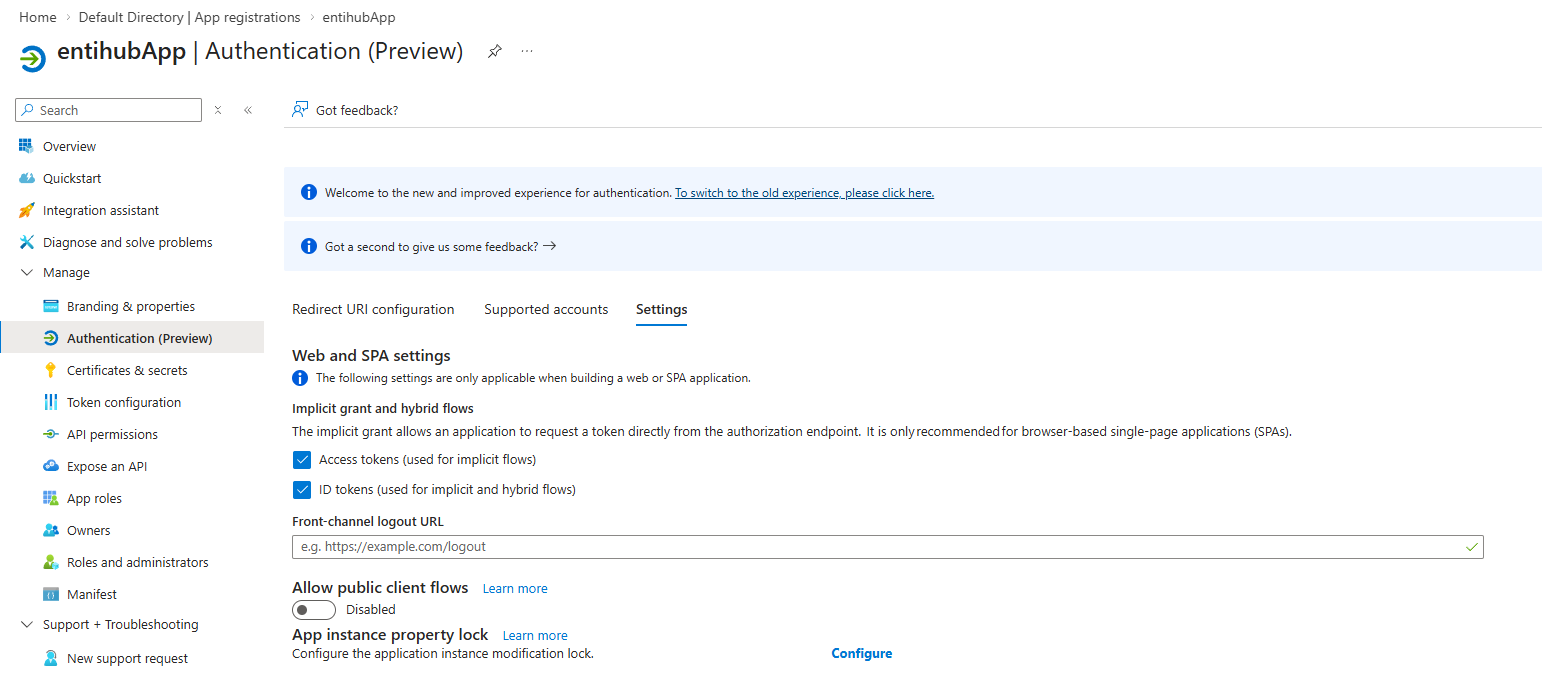
After creating the app registration, configure the following so everything works correctly. In Manage -> Authentication, enable: - Access tokens (used for implicit flows) - ID tokens (used for implicit and hybrid flows)
Then go to Manage -> App roles.
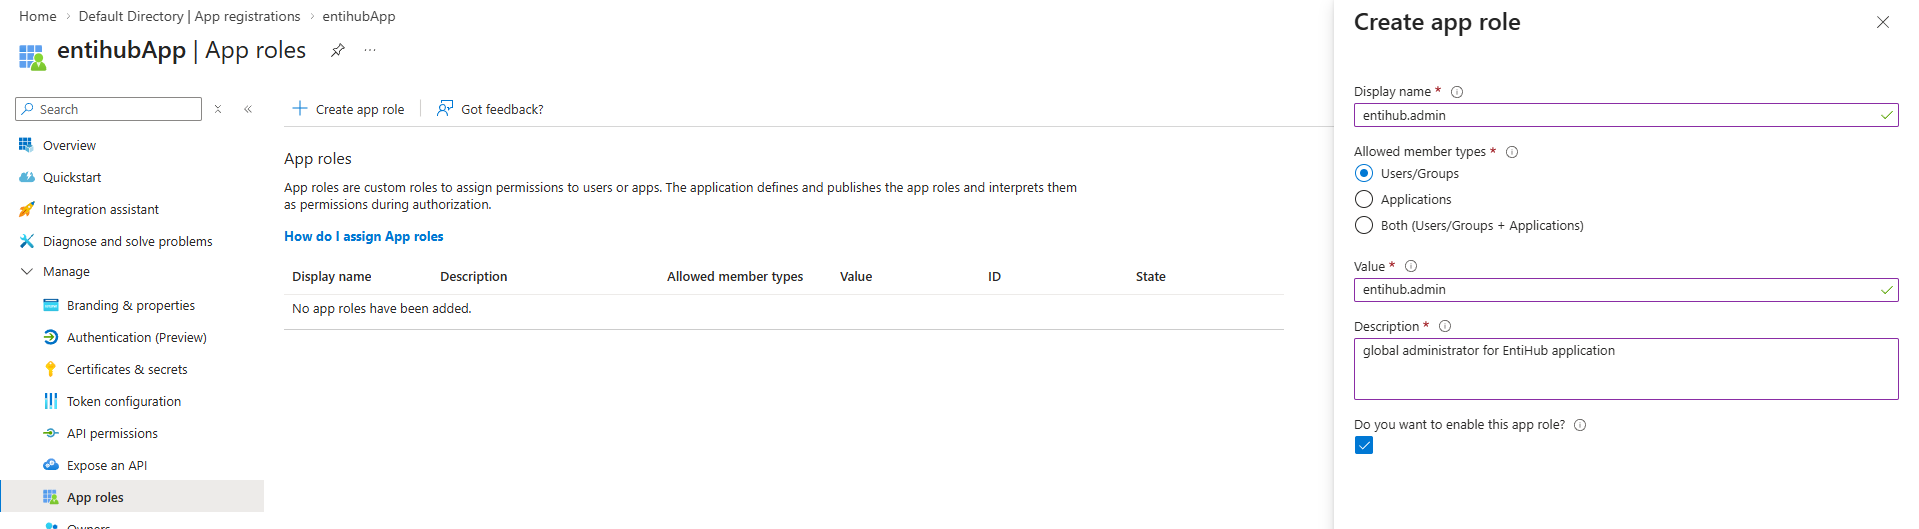
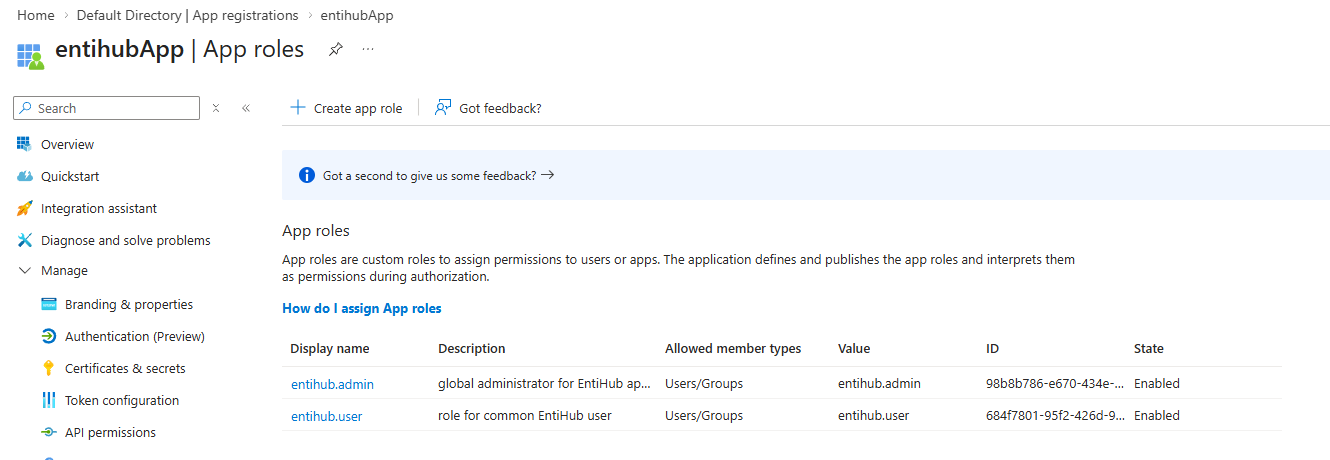
Create two roles according to the settings shown below. These are the two basic application roles: EntiHub Admin and EntiHub User. The admin role (entihub.admin) is for dedicated accounts with Global Admin access in the app. The user role (entihub.user) is for all other users.
Set Allowed member types to Users/Groups and set Value to either "entihub.admin" or "entihub.user".
Next, in Manage -> API permissions, add an API permission.
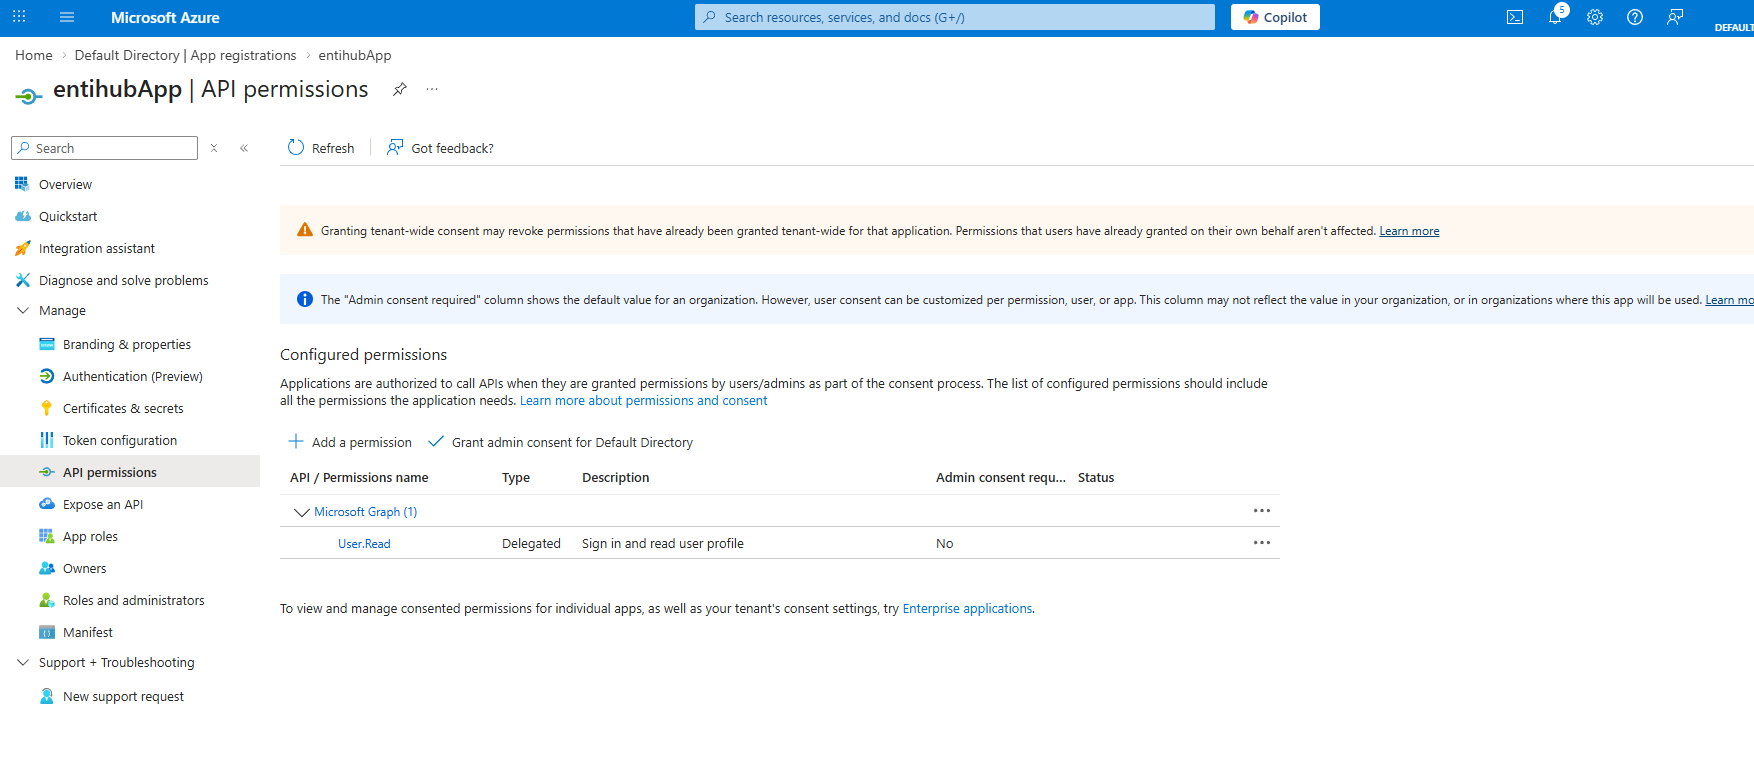
Click Add a permission and select Microsoft Graph.
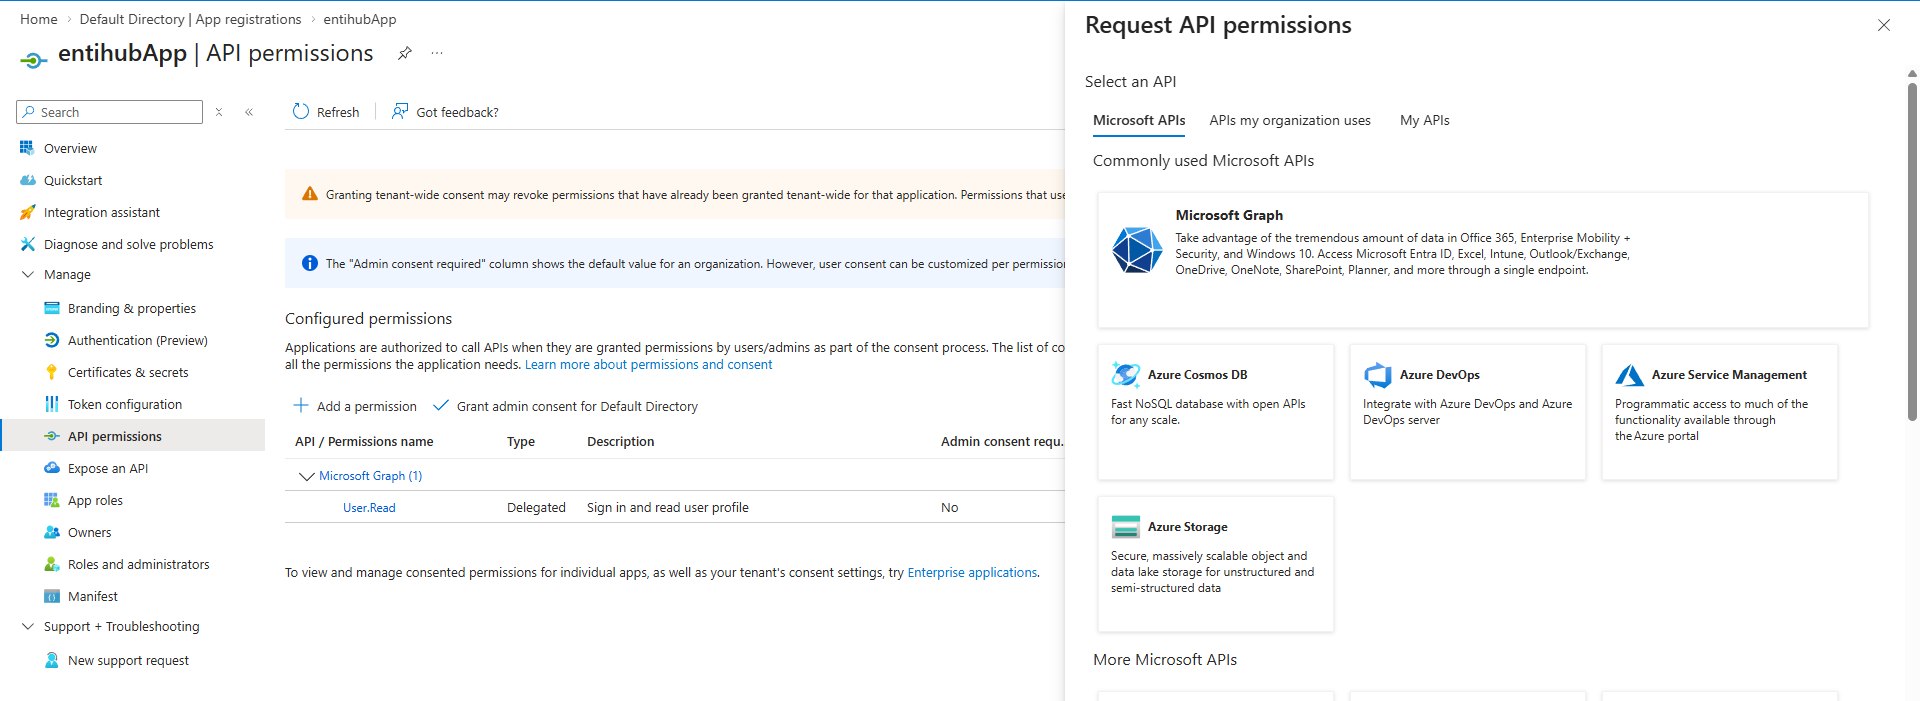
In the next dialog, choose Delegated permissions. In the list, select email. This allows the application to read the user email during authentication, which is then used for detailed permission management in the app. After selecting email, click Add permissions.
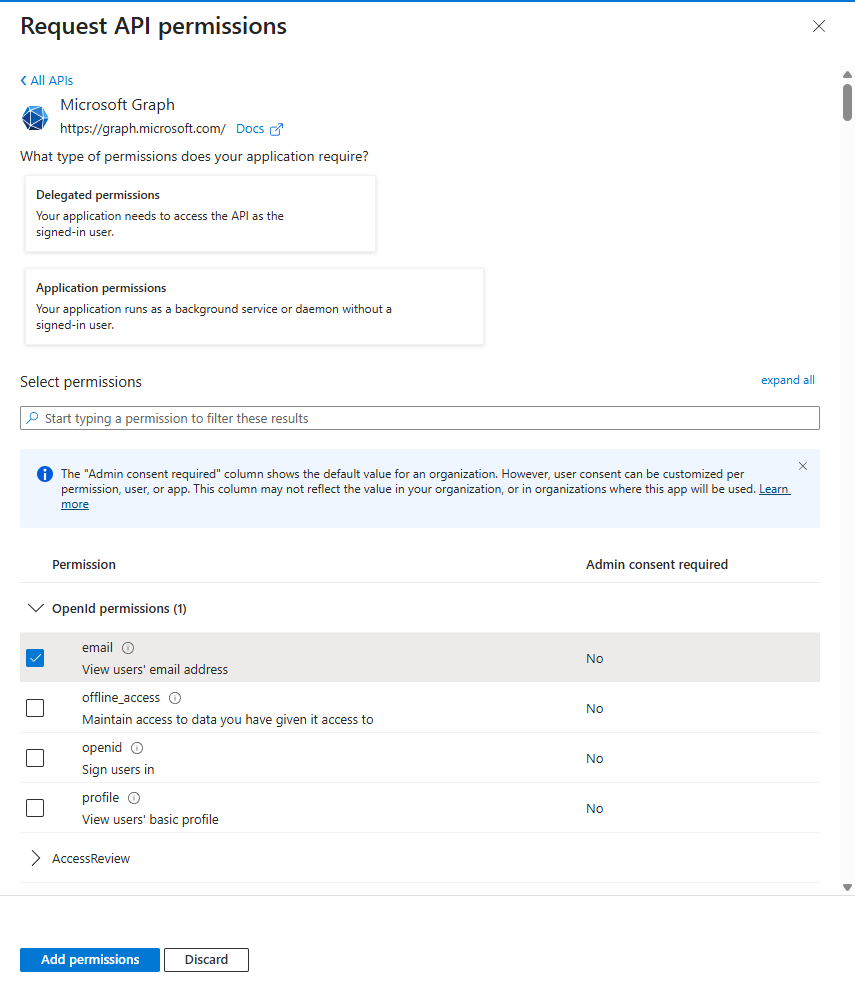
After this step, App Registration is fully configured.
2. Create client secret
In the next step, generate a client secret so the application can use the app registration. In App Registration, open Manage -> Certificates & Client secrets. Click New client secret and create a new secret.
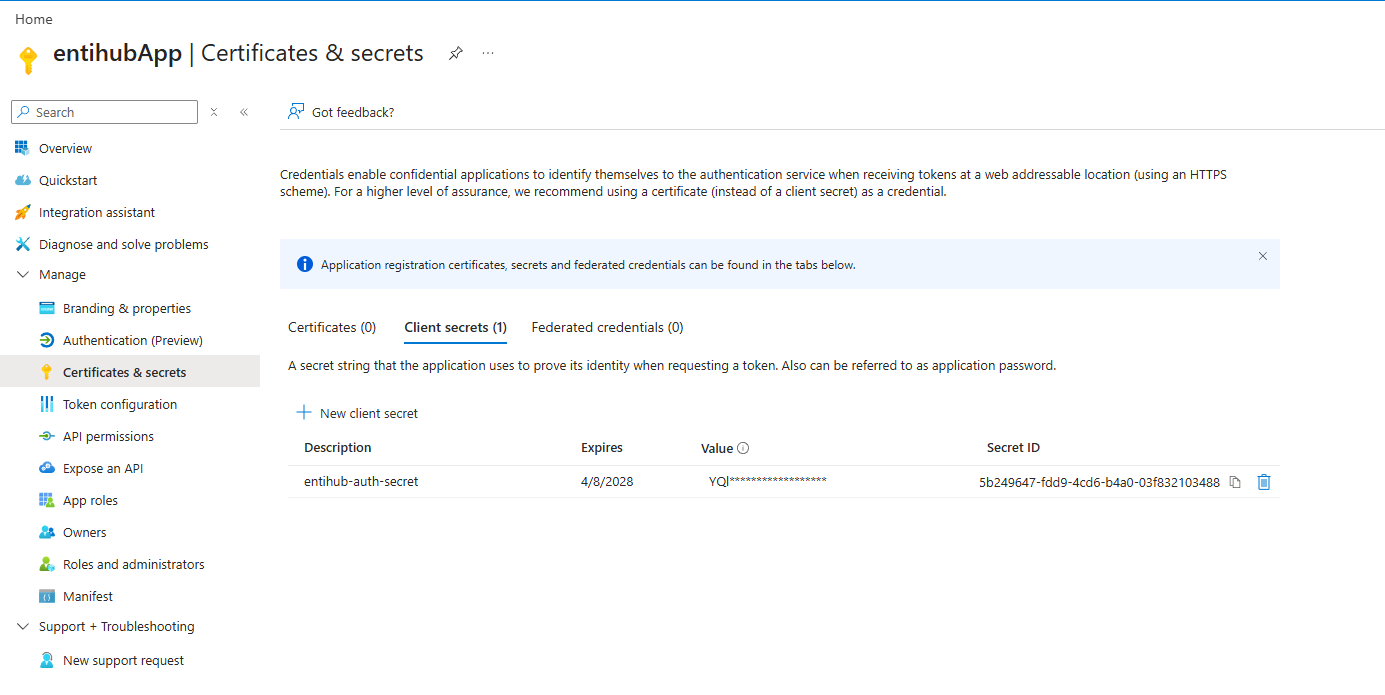
Client Secret
Store the generated client secret securely, because you will need it during installation. Do not share this secret.
3. Configure redirect URI (interactive admin sign-in)
During app registration, you can configure a redirect URI. When a user opens the app URL in a browser, the app redirects the user to the Microsoft Entra sign-in page. After successful authentication, the user is redirected back to the URI defined in app registration. The format is:
https://<your-host>/signin-oidc
<your-host> is the URL or IP address where the application runs. Once this is configured, authentication is complete and users can be assigned to roles.
For EntiHub CLI interactive sign-in (entihub login), you must also add a Mobile and desktop redirect URI (http://localhost); see the EntiHub CLI interactive sign-in section later in this page.
4. Configure EntiHub application settings
During installation, you will need these three values from app registration:
AzureAd__TenantIdAzureAd__ClientIdAzureAd__ClientSecret(store in secret manager)
5. Assign app roles and permissions
After setup and installation, you can assign users to roles. If a user is not assigned to a role in Microsoft Entra, they will not see application functionality and will not be able to access exposed APIs. To enable access, assign the user to an app registration role and then assign detailed permissions in EntiHub.
Privileges
Follow least-privilege principles (grant only required scopes).
You can assign users to either EntiHub Admin or EntiHub User. EntiHub Admin is a global admin role that allows full access to manage entities, users, integrations, and other features. This role should be limited to a small set of trusted accounts. The EntiHub User role allows sign-in to the app, but additional in-app permissions are required for working with entities.
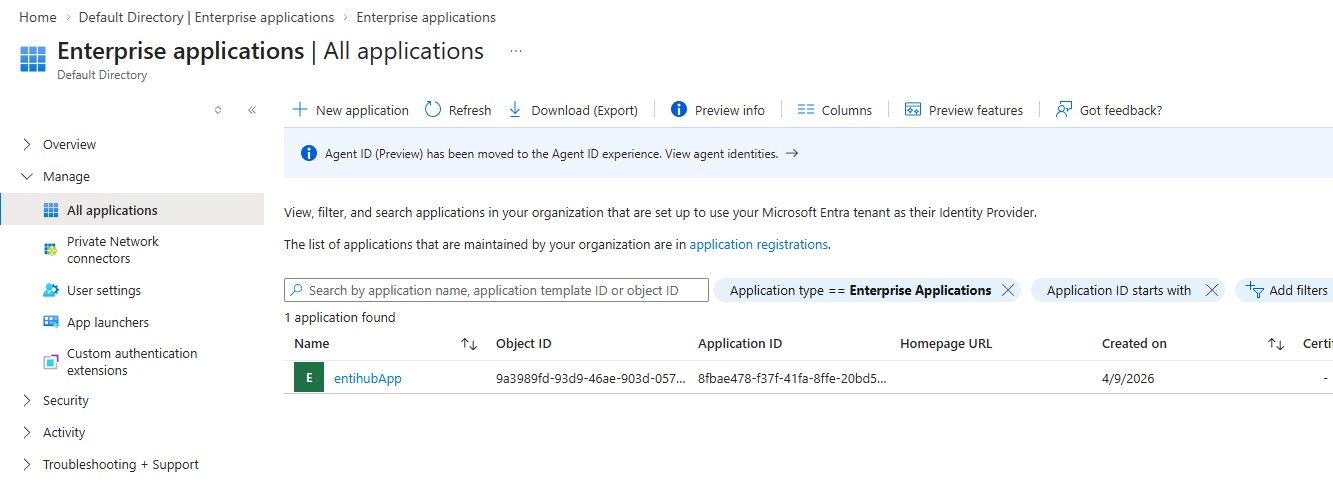
To assign users to roles, go to Microsoft Entra ID -> Enterprise applications, open Manage -> All applications, find your app registration, and open it.
In the application, open Manage -> Users and groups. In this section, define users and base access using Add user/group.
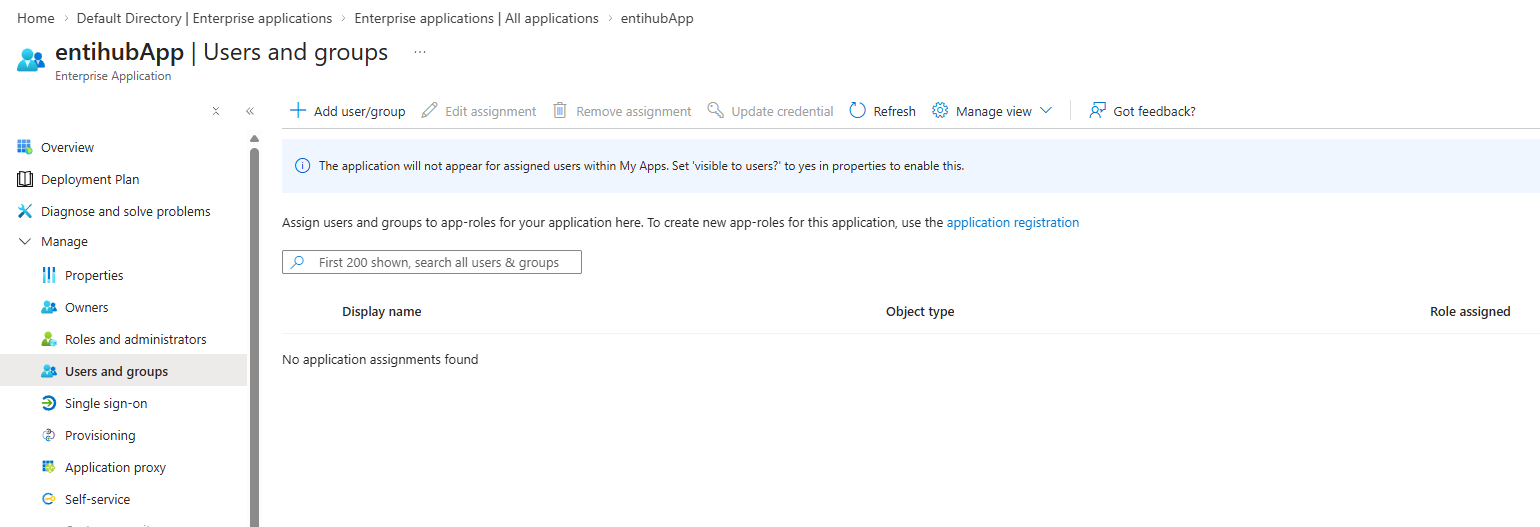
Select the user and assign the required base application role. The example below shows two users with different assigned roles.
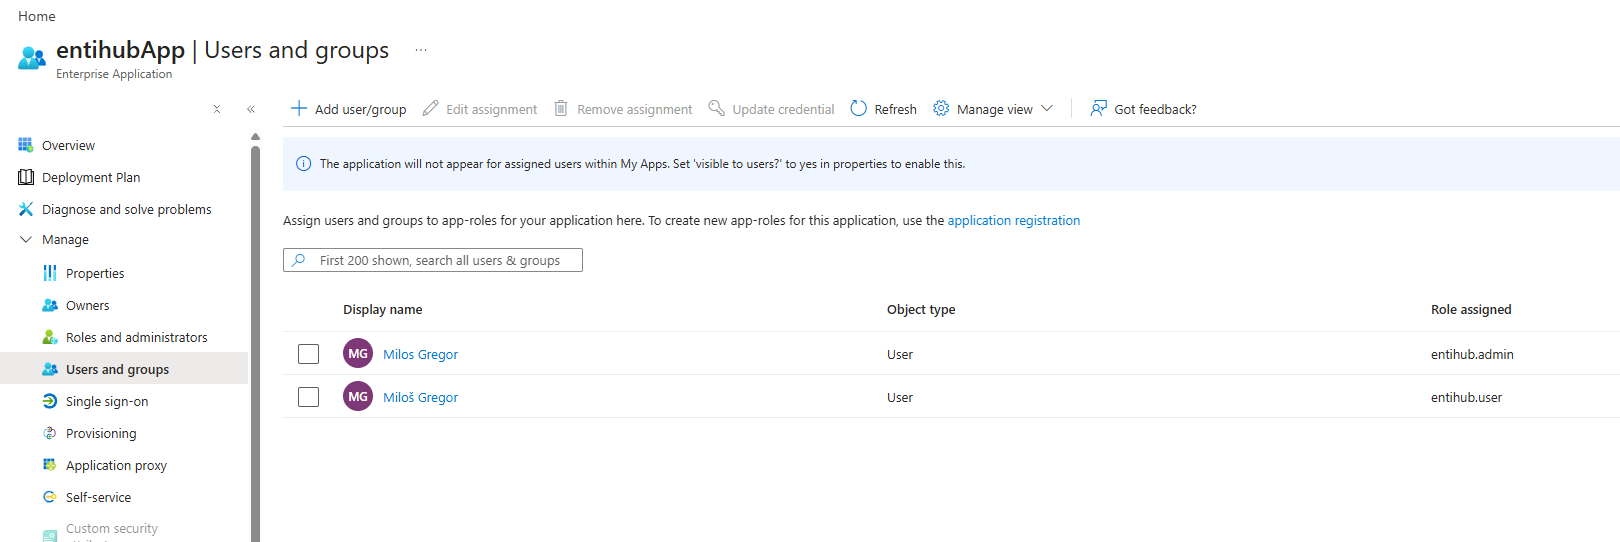
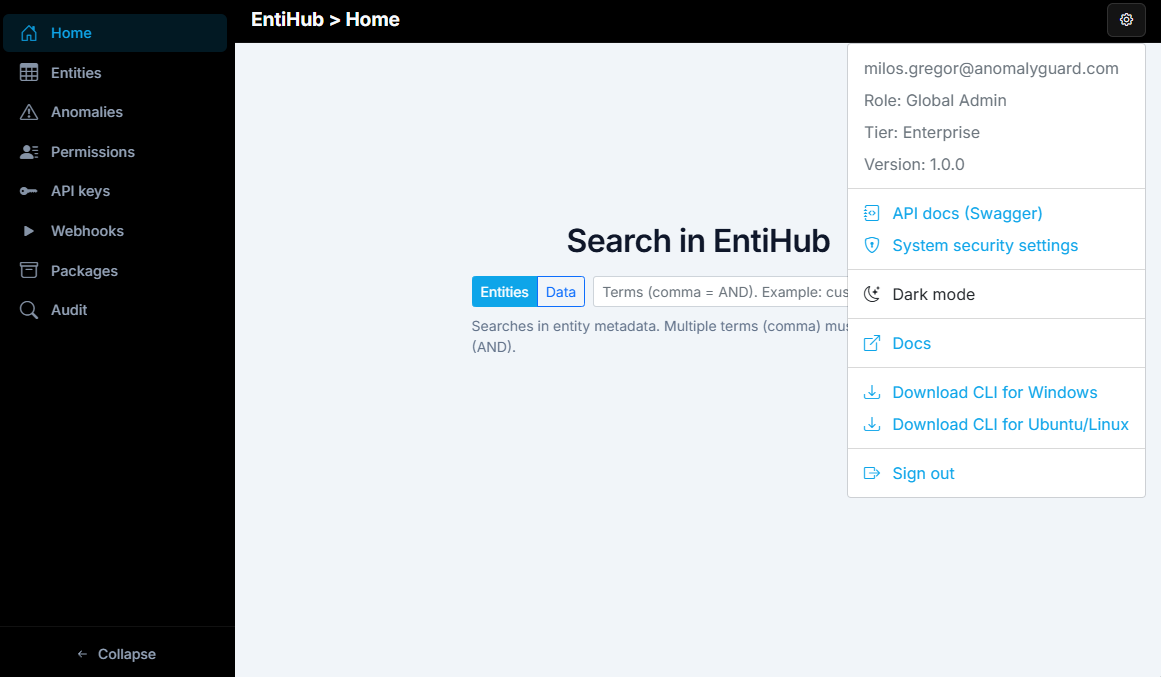
After that, the user can sign in to the application. Depending on role, they will see either the standard or administrative interface. The standard user interface contains fewer options.

By contrast, global admins see an extended interface with additional management features.
EntiHub CLI interactive sign-in (entihub login)
If users should authenticate with the EntiHub CLI using interactive sign-in (browser or device code), the same app registration needs a public client redirect URI:
- In the app registration, open Authentication.
- Under Platform configurations, select Add a platform → Mobile and desktop applications.
- Add redirect URI
http://localhost(no path; MSAL may use a random port such ashttp://localhost:56970, which is covered whenhttp://localhostis registered for this platform). - Under Advanced settings, set Allow public client flows to Yes (or in Manifest, set
"allowPublicClient": true).
Use the same Application (client) ID and Directory (tenant) ID as for the web app when you run entihub config set (or equivalent environment variables). For service-principal-only automation (no interactive user), use client credentials as documented for your pipeline instead of this redirect URI.
Security recommendations
- Rotate client secrets regularly.
- Store secrets in Azure Key Vault or equivalent.
- Use dedicated service principals per environment (dev/stage/prod).
- Review assignments and inactive principals periodically.