Edit Entity Data
This section describes all options for editing records in an entity. If you open an entity where you have permission to edit data, you can update values in existing records, add new records, or delete records.
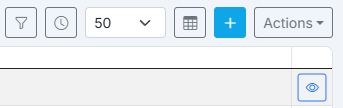
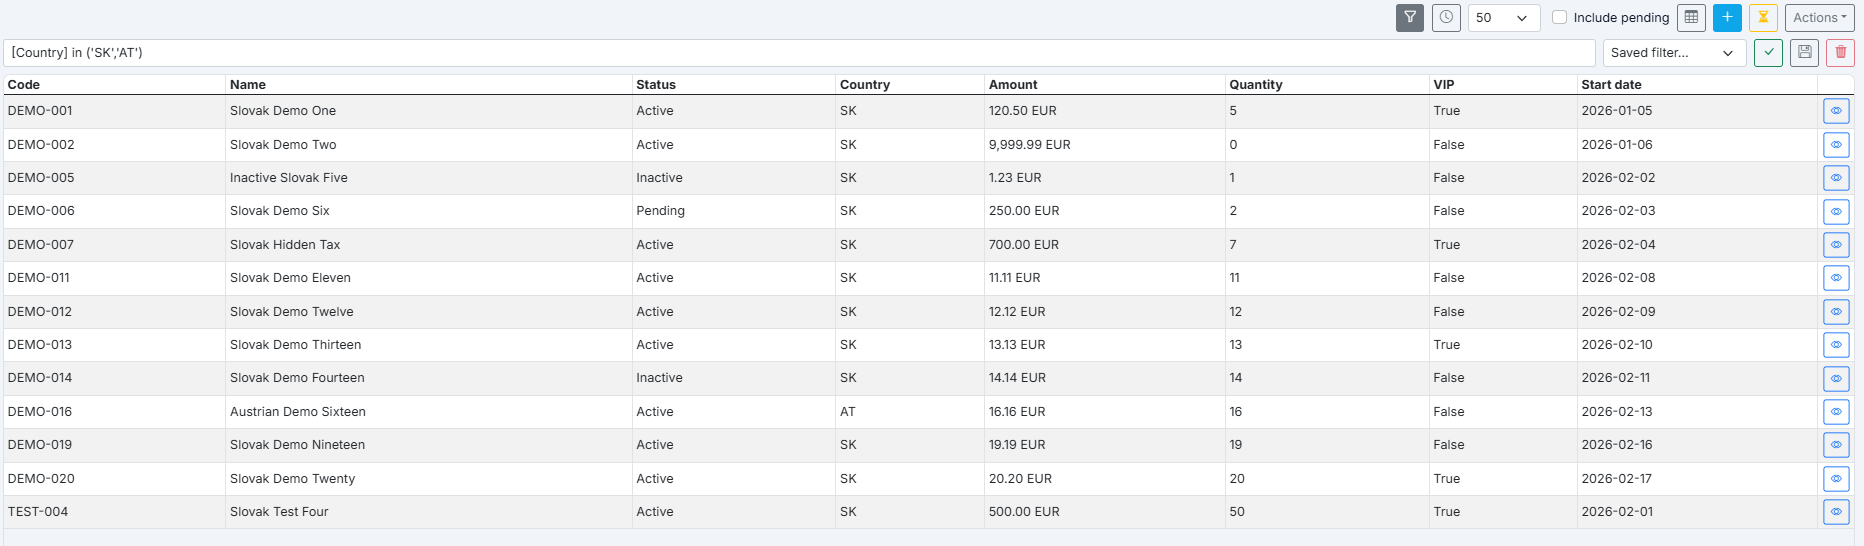
The following image shows an example of displayed data. All data editing functions are located in the top-right corner.

You can add a new record using the plus button. Other editing functions are available under the Actions button. To edit an existing record, click the View button at the end of the row in the table.
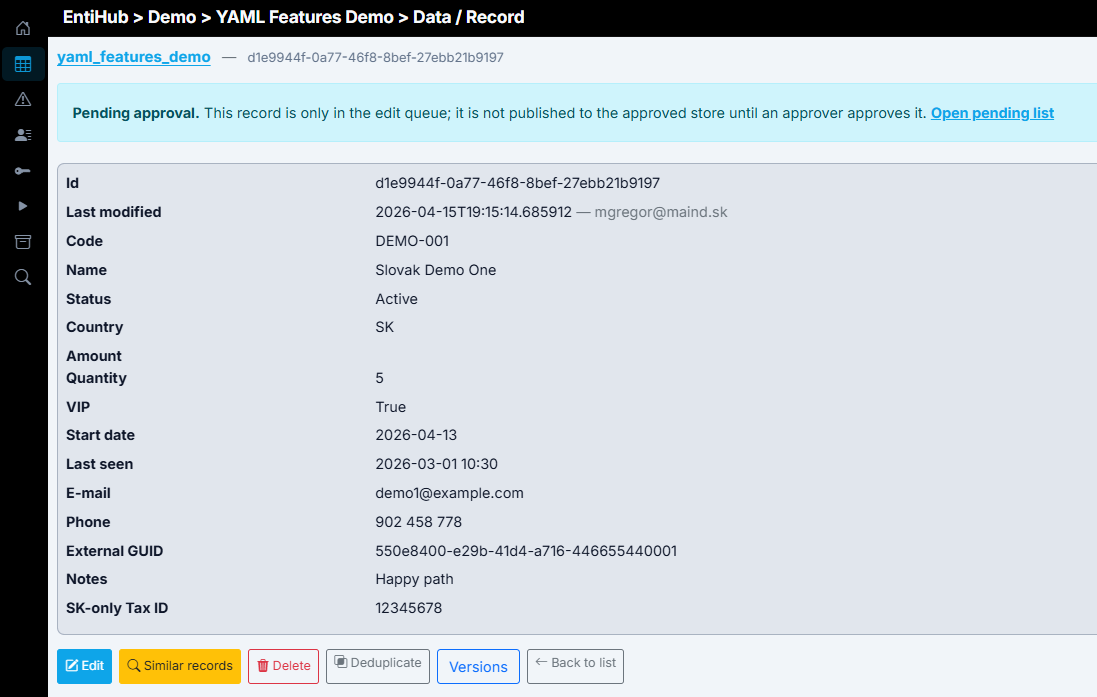
After clicking this button, the record detail view is displayed. It contains all entity record values and several actions at the bottom.
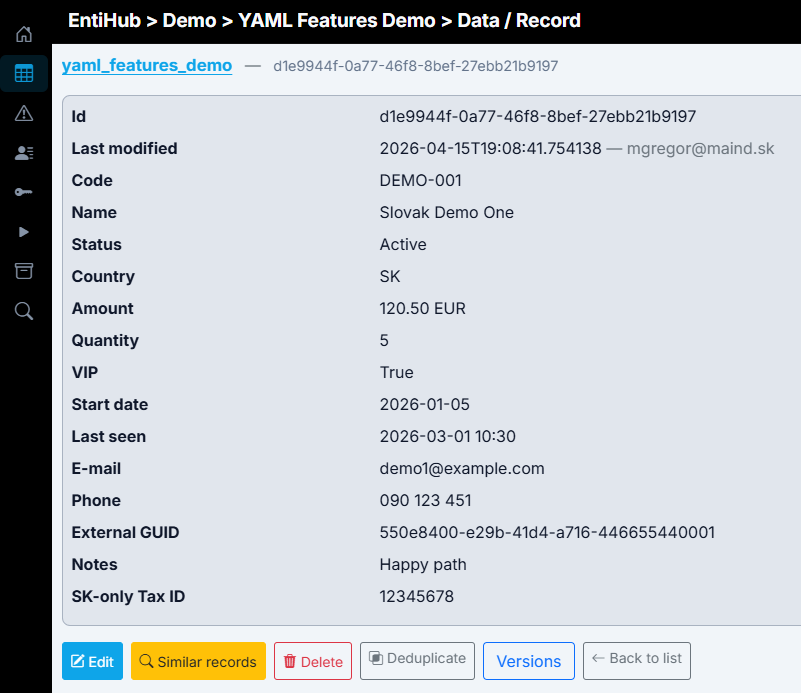
Available buttons: - Edit: Edit values for the current record. - Similar records: Search for similar values based on similarity settings in the entity YAML definition (available in higher application tiers). - Delete: Soft-delete the record. - Deduplicate: Safely deduplicate records. - Versions: If the entity is historized, view the change history of the selected record. - Back to list: Return to the entity table view.

After clicking the Edit button, a record edit dialog opens. Its behavior is defined by the entity YAML configuration. You can change values, validate them against predefined validation rules, search for similar records to prevent duplicates during manual entry, and then save the changes.
The same form is shown when adding a new record. The following examples demonstrate UI features configurable in the entity YAML definition.
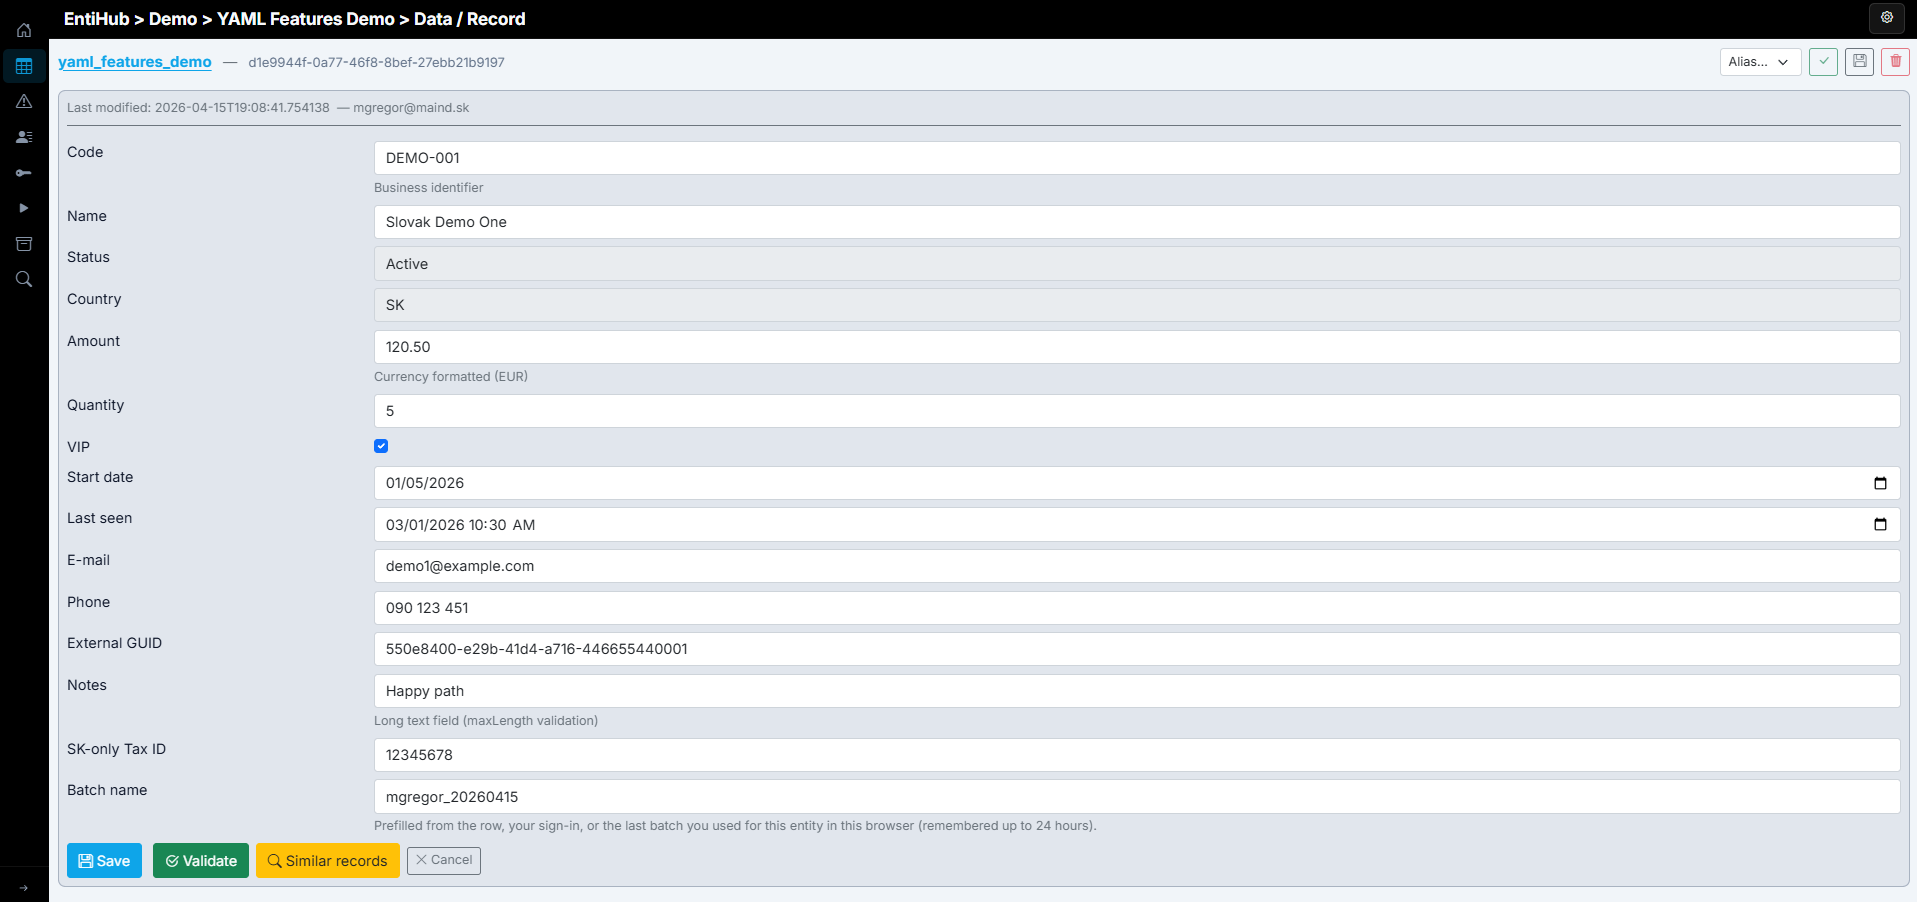
If a Column Display Name is defined, it is shown as the field label. Otherwise, Column Name is used. If a default value is defined, it is automatically prefilled for a new record. If column.ui.message is defined, it is automatically displayed below the input to provide additional guidance for users.

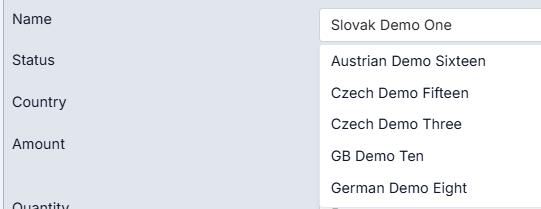
If autocomplete is set to true for a column in the YAML definition, autocomplete can be used for faster value entry. Initially, the top 50 most frequently used values for that field are loaded. After typing three characters, autocomplete refreshes and only values that start with the entered text are loaded.
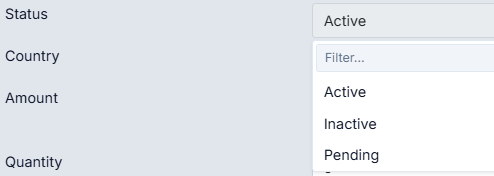
If a list of allowed values is defined for a column in validation rules, the text input changes to a selection input and only these values are available (plus null if allowed). The same behavior applies when the column is defined as a reference to another entity. In that case, values from Display Ref Column are shown in the selector, and the application automatically stores the reference using the ID column of the referenced entity.
If a value is not set by default, you can display a sample value as a gray placeholder in the empty input.

Finally, if an input mask is defined in the YAML configuration, it is applied and users must enter values in the required format. This is useful for phone numbers, tax IDs, and other values with a known structure.

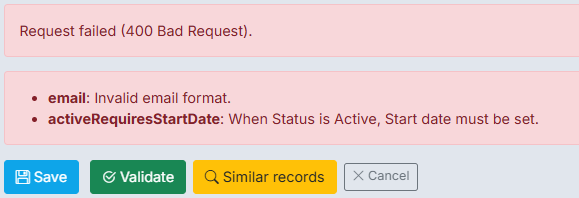
To verify that values are defined correctly, click the Validate button. It validates values against both single-column validators and custom validators that cover more complex multi-column scenarios with conditional logic.
The same validations are run when you click the Save button. These validations are performed server-side, and data is written to the database only if validation succeeds. If validation fails, detailed custom error messages are shown in the error box below the inputs.
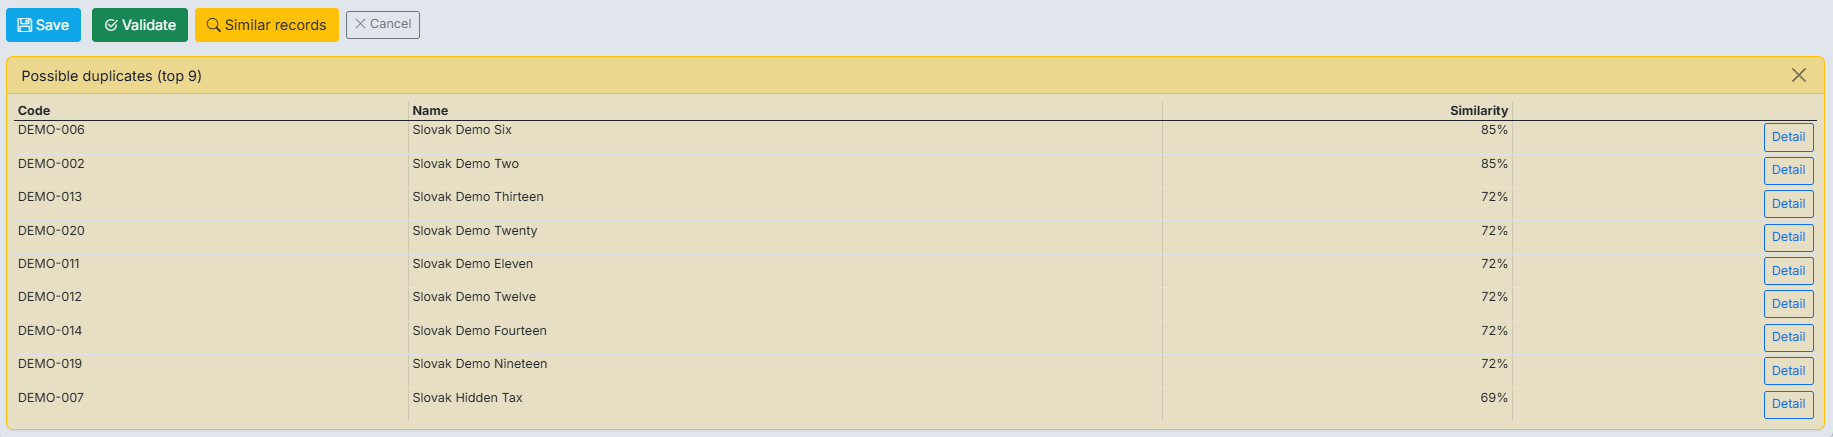
To check whether you are creating a record that already exists, click the Similar records button. Based on configuration, it returns identical or similar records with similarity scores so you can decide whether the entry is new or a duplicate. This helps prevent duplicates at input time.
After clicking Save, values are stored in the database. If historization is enabled for the entity, the current version is first written to the history table and then the active version is updated. If an approval workflow is configured, changes or new records are stored in the edit table and wait for approval. Users are informed in an info box after saving.
By default, the table view shows only approved records. If you enable the Include pending checkbox, records with unapproved changes are also shown. These changed but unapproved records are displayed in gray text.

If you are an approver and want to review changes, click the orange Pending Approval button. It shows all records waiting for approval. In this dialog, you can approve or reject changes per record or in bulk by filtering changes by Batch Name (for example, a Jira task number defined during record editing).

In the same window, you can also view the current approved version of the modified record.

You can then approve or reject the changes.
Editing one record by multiple users
Changing values of an existing record creates one new entry in the edit table waiting for approval. If another user edits the same record before approval, they edit the same pending edit version, so multiple pending versions are not created. There is always only one pending edit version, even if multiple users update it, until someone approves it. After approval, it is removed from the edit table and remains only in the approved table.
If the same person who edited the record tries to approve it, the approval workflow fails and the process is stopped, because this is not allowed by default. To allow this temporarily or permanently, update the entity YAML definition.

If the approval process ends successfully, changes are applied and all data users immediately see the current data version (both in views and via EntiHub API endpoints).
When opening an entity, only the first Top N records are shown (50 by default). Records are also sorted according to the entity YAML setup. To show more records, change this value in the selector in the top-right corner.
Often, you do not want to display all data, only selected data. For this, use the filter shown after clicking the Filter button. EntiHub filters use a dedicated DSL that combines standard SQL with additional functions.
You define this filter similarly to a condition after a SQL WHERE clause. You can use all features of your backend database SQL dialect. For example, if your backend is PostgreSQL, you can use PostgreSQL features in filters. For column references in filters, you can use either Column Name (as defined in YAML) or Display Column Name. To use Display Column Name (the same label shown in the table header), wrap it in square brackets: [column-name].
When wrapped in square brackets, EntiHub recognizes these names and rewrites them to physical database column names before query execution. Also, when filtering on a reference column (for example, Country), the application automatically resolves the displayed value from the referenced display column to its _sys_id and applies filtering in the current entity using that stored reference value.
For example, you can use [Country] = 'SK'. The application finds value SK in the reference table, resolves its _sys_id, and filters the current entity by the corresponding reference column.
This provides a flexible and intelligent filtering system. You can also use hidden technical columns and backend SQL functions in filters. For example, to show records edited by a selected user in the last 14 days:
_sys_last_updated >= NOW() - INTERVAL '14 days' AND _sys_last_updated = 'user@email.com'
In higher tiers, users can save such filters and reuse them later instead of defining them repeatedly. Use the actions to the right of the filter input.

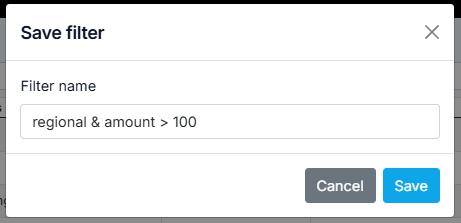
When the user clicks Save Filter, it is stored under the specified name.
The user can later activate it by selecting it in the selector. Saved filters can also be deleted directly.

Single-record editing described above is powerful and helps with data entry. However, sometimes you need to update multiple records or add many records. In this case, it is better to use spreadsheet mode, similar to working in Excel.
If you have write permission, you will see the spreadsheet button for the entity. It opens currently visible records in a spreadsheet where you can edit them directly.
If a filter is active on the entity, only filtered data is displayed, which helps avoid UI slowdown for large entities. If approval is enabled and someone has already edited a selected record, spreadsheet mode automatically shows the pending edit version to avoid duplicate edit records. All users therefore view and edit the same pending content.
In spreadsheet mode, you can edit records and add new rows using the Add Row button. Copy-paste is supported, so values can be copied from other cells or directly from Excel.
If a selected column is defined as a reference to another entity, or if allowed values are defined in validation rules, a selection input appears in the cell after double-clicking it.

As with single-record editing, you can validate changes here as well. Clicking the Validate button in the top-right corner runs full validation using YAML rules. If cells fail validation, invalid values are highlighted with a red background. You can see validation error messages in a tooltip when hovering over a cell.

You can then save changes. Depending on configuration, they are either saved directly or sent to the approval process.
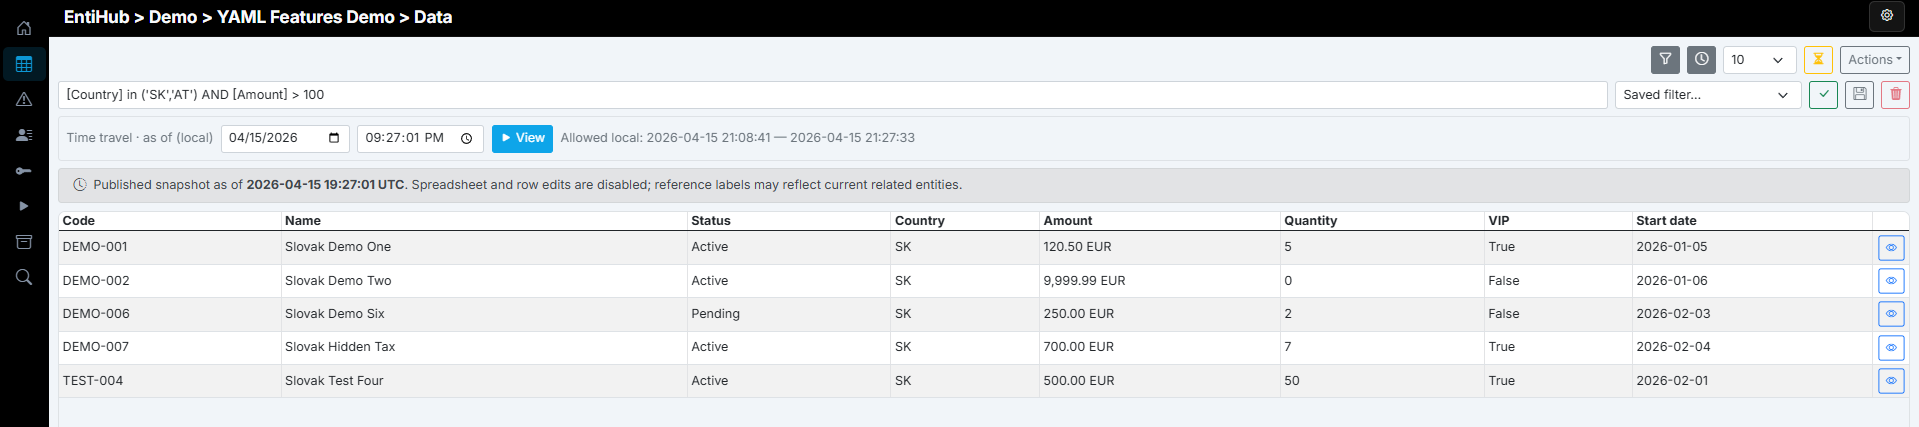
If the entity is historized, you can use another feature to view values as they were at a selected time in history. This is available via the Time-travel button. Historical versions are read-only and cannot be edited.
These historical views can also be exported. For historized entities, historical versions are also available through API endpoints.
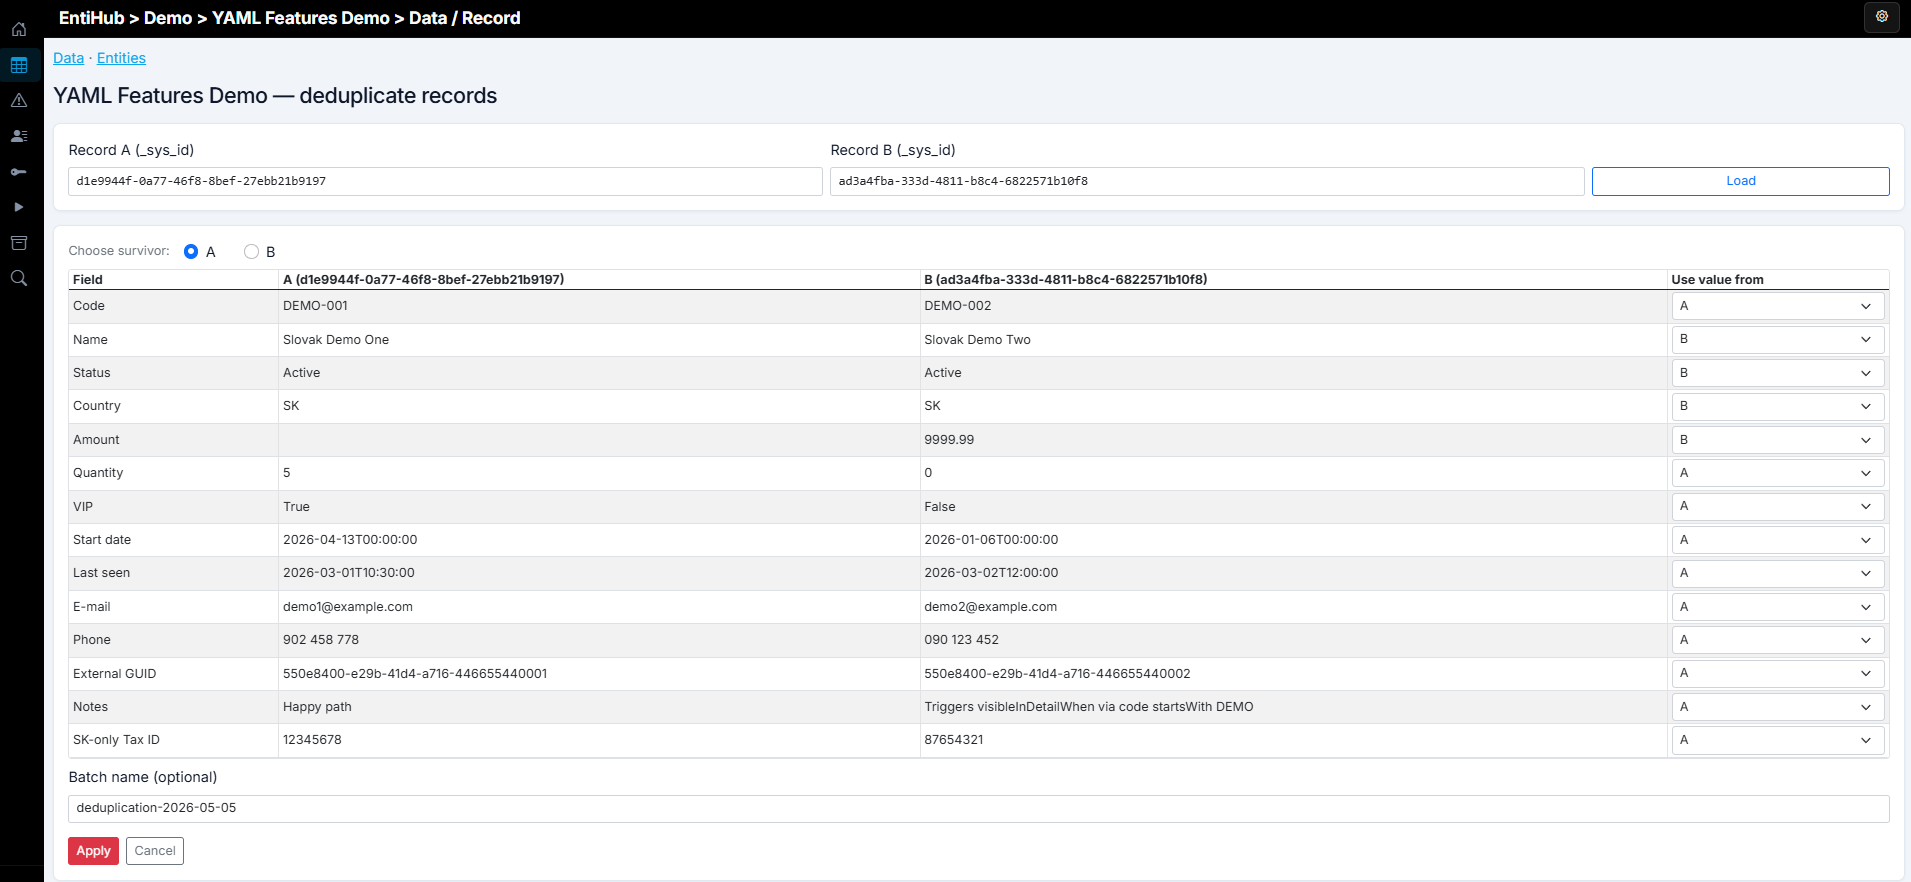
Another important feature is record deduplication. Sometimes records are duplicated, for example two records for one company where one contains a typo in the company name. You could delete one record, but problems occur when that entity is referenced by other entities. In that case, all references in other entities must be updated automatically.
Use the deduplication function for this. It opens a dedicated window where you perform the merge. First, select IDs (GUIDs) of both records. Then choose which record will be kept and which will be removed. Finally, in the parameter table, define which values should be retained for each field when values differ.
After clicking the Apply button, the process runs: values are updated according to your settings, references from other entities pointing to the record being removed are reassigned to the kept record, and the removed record is soft-deleted. Audit log entries are created for both records.
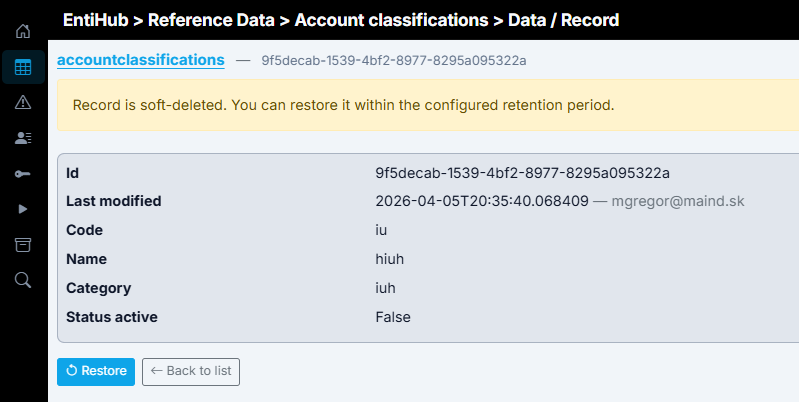
If a record was soft-deleted, you can still display it in the entity table. Enable the Show deleted checkbox and deleted records appear in the table. They are visually distinguished by gray styling and strikethrough values.

In the record detail, the application indicates that the record is deleted and offers Restore. These features work only while records are soft-deleted. If records are permanently deleted later, they can no longer be viewed or restored. The delay between soft delete and permanent delete can be configured in the entity YAML definition.
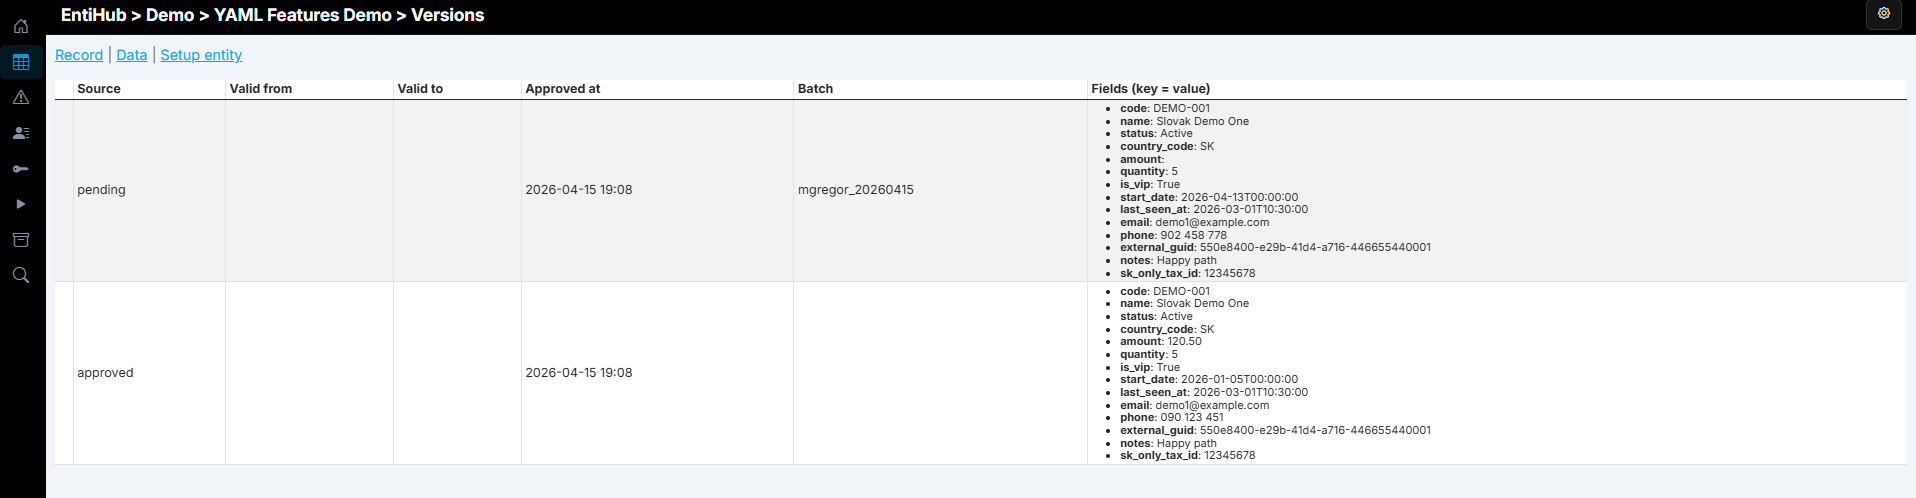
If the entity is historized, another button in detail view is Versions.
Clicking it shows the complete change history of the selected record.
Another option for working with data is bulk import and export from files. This is described in a separate documentation section.